Battle of Neville's Cross (1346)
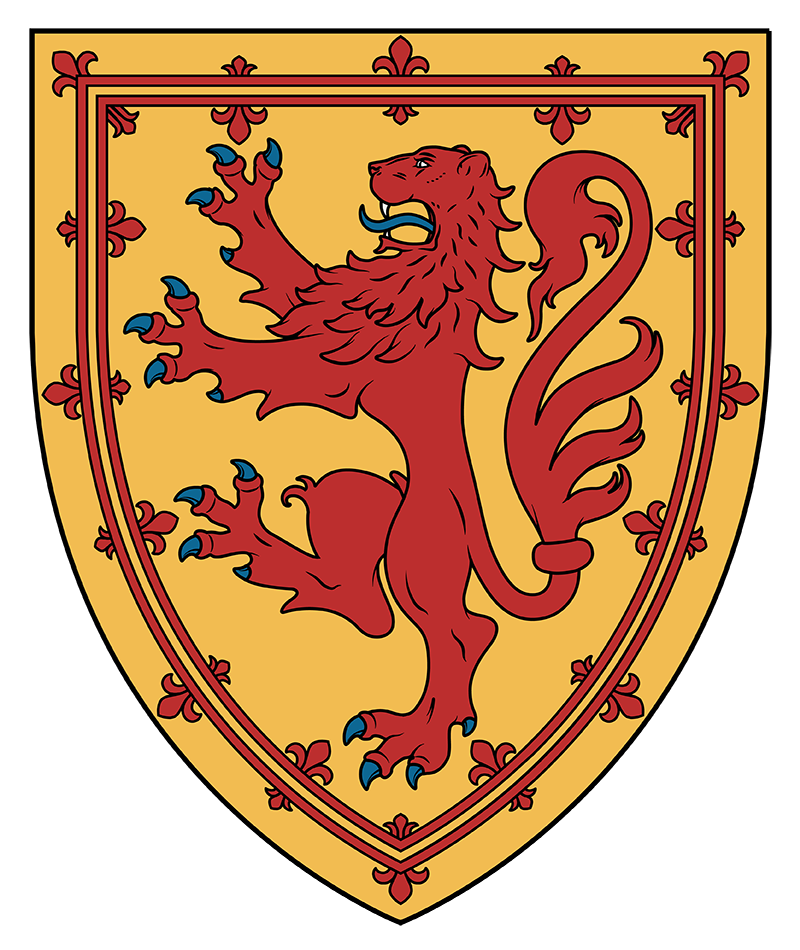
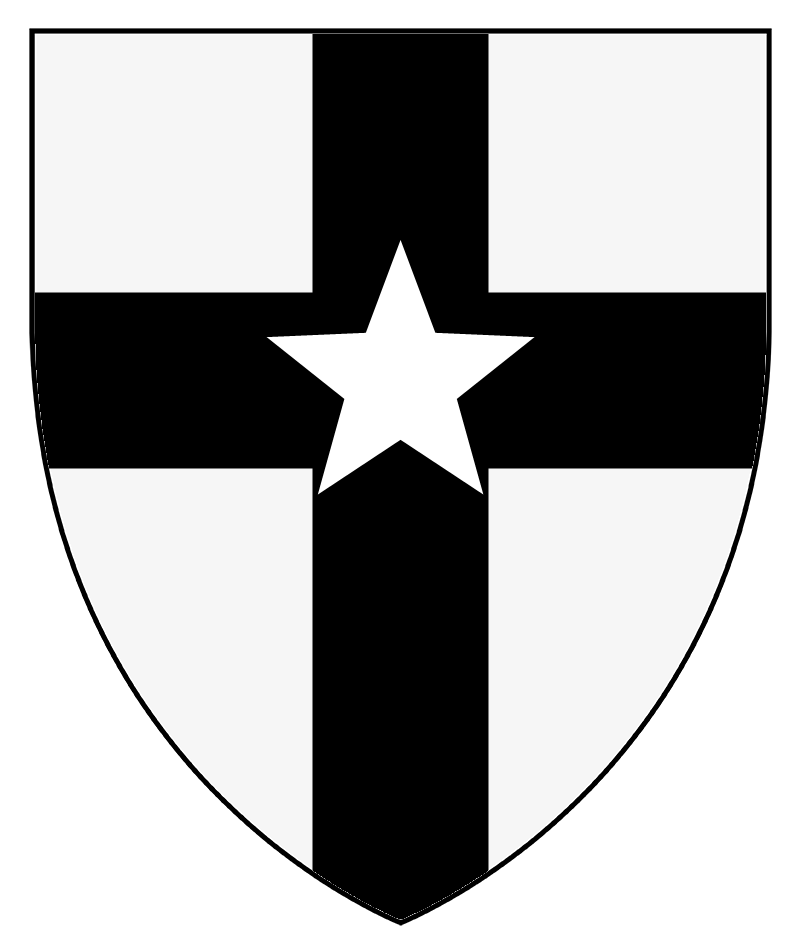
David II and Ralph Neville
Background
The Battle of Neville's Cross was fought on October 17th, 1346, on a ridge west of Durham, and it was one of the most decisive English victories of the Second War of Scottish Independence. A Scottish army led by King David II invaded northern England while Edward III was fighting in France, and it was crushed by a hastily gathered army of northern lords and churchmen. David himself was captured and spent the next eleven years as a prisoner in England.

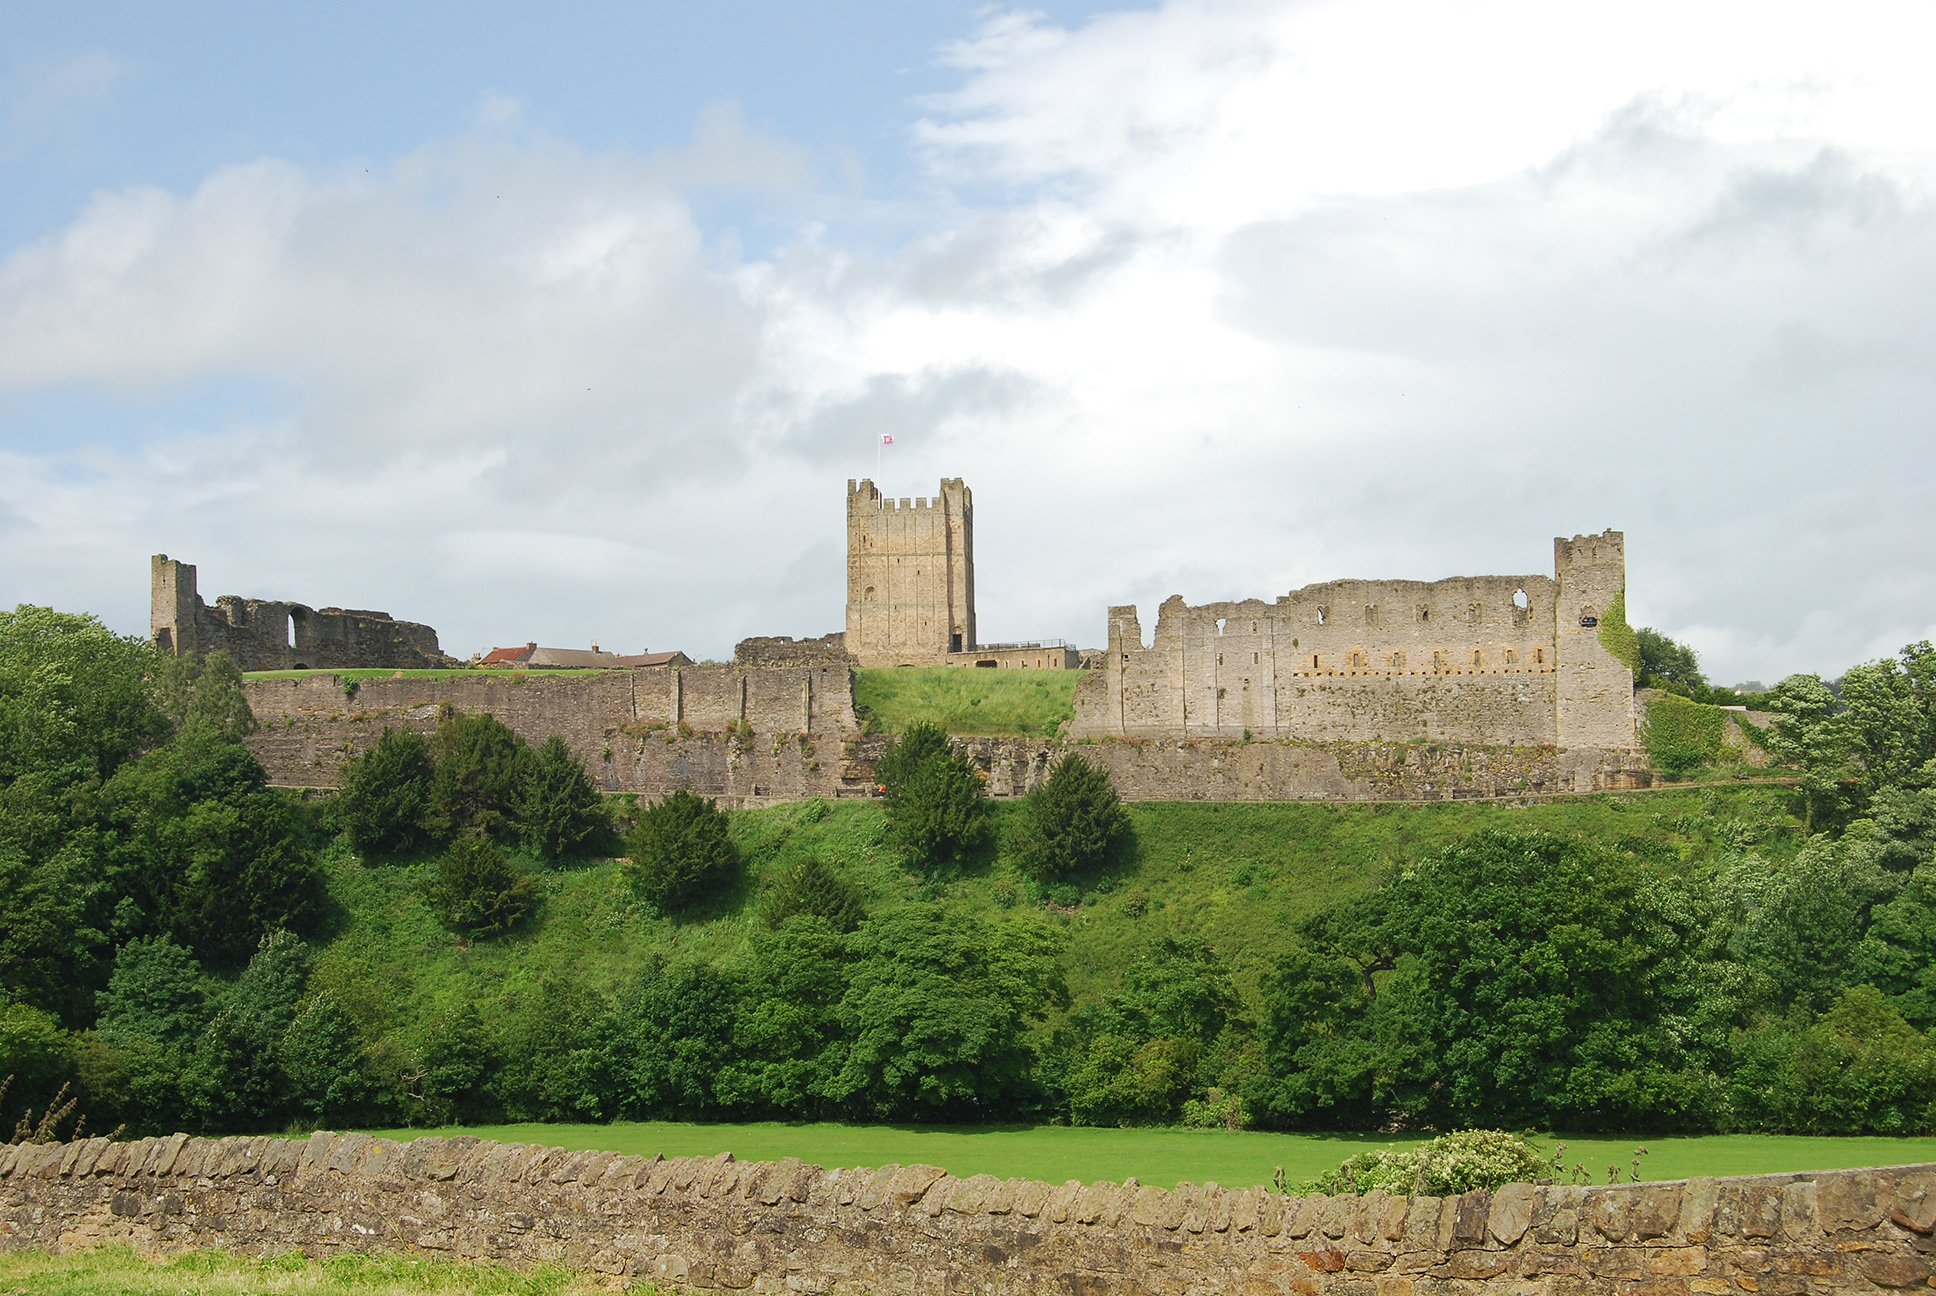
Raby Castle, the stronghold of the Neville family. Ralph Neville, 2nd Baron Neville of Raby, commanded the English army at Neville's Cross.
England had been at war with Scotland since 1332 and with France since 1337. David II had spent the years after Halidon Hill in exile in France, and he returned to Scotland in 1341. The Truce of Malestroit, signed in January 1343, was meant to last until September 29th, 1346, and it included Scotland, but fighting along the border continued, and David led a six-day raid into northern England in October 1345. The Auld Alliance, which was renewed in 1326, bound each kingdom to invade England if the other was attacked. In June 1346, Philip VI of France urged David to attack, since Edward III had landed in Normandy in July with about 15,000 men, and he called northern England "a defenceless void." David agreed to extend the truce to September 29th while he gathered his army at Perth.
By the time the truce expired, the situation had changed. The French had been beaten at Crécy in August, the English were besieging Calais, and the war in Scotland had swung in David's favor since Culblean and the Siege of Perth. Edward III had also excused the counties north of the Humber from his muster for France, leaving them to defend themselves.
The Invasion
On October 7th, about 12,000 Scots crossed the border with modern weapons and armor supplied by France and a few French knights. Chroniclers thought it was the best-equipped Scottish army in years. David stormed the border tower of Liddel Peel after a three-day siege, and its governor, Sir Walter Selby, was captured and executed. Carlisle was bypassed after it paid a large indemnity. The Scots then plundered Lanercost and sacked Hexham Abbey over three days before marching on Durham.
The Scots reached Durham on October 16th, and they camped at Beaurepaire (Bearpark) Priory, the prior's country house west of the city. The monks offered £1,000 in protection money, payable on October 18th, and David agreed to wait for it.
The English army gathered at Richmond under William de la Zouche, Archbishop of York and Warden of the Marches. It began with 3,000 to 4,000 men from Cumberland, Northumberland, and Lancashire, including 1,200 Lancashire longbowmen and some hobelars. Another 3,000 Yorkshiremen were on the way. On October 14th, the archbishop decided not to wait for them and marched toward Barnard Castle and then east to Durham, where the Yorkshire contingent caught up. The combined force of 6,000 to 7,000 men was placed under Lord Ralph Neville.
The Battle
At dawn on October 17th, about 500 Scots under William Douglas, the Knight of Liddesdale, ran into the English in morning mist near Merrington. The two rear English divisions drove them off with about 300 casualties, and Douglas rode back to warn the Scottish camp. The same morning, two Benedictine monks came from Durham to negotiate. David suspected they were spies and ordered them beheaded, but they escaped.

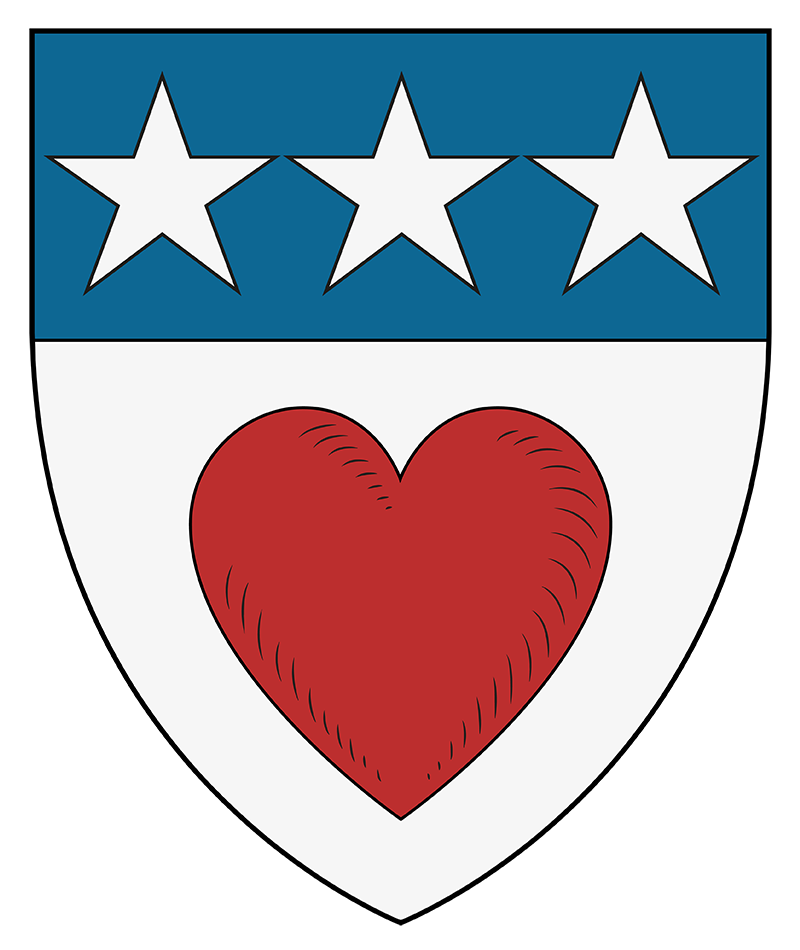
The Scots took high ground less than half a mile west of Durham, in sight of the cathedral, around an old stone boundary cross known as Neville's Cross. They formed three divisions, or "battles." John Randolph, Earl of Moray, commanded the first, David led the second, and Robert Stewart and Patrick Dunbar, Earl of March, led the third. The English also formed three battles, with Lord Henry Percy of Alnwick in the first, Ralph Neville in the second as overall commander, and the Archbishop of York in the third. They fought on foot, with the men-at-arms in the center and the longbowmen on both flanks. The ground in front of the Scots was broken and cut with ditches and walls, and both sides remembered Dupplin Moor and Halidon Hill, so each stayed on the defensive. For hours, neither would attack.
In the afternoon, the English sent their longbowmen forward. The Scottish light horse and archers fell back under the arrows, which left the flank of Moray's division exposed. The Earl of Menteith, John de Graham, urged a cavalry charge at the archers, but it was not fully supported and it failed. He was captured with the king. Moray's division then advanced, but the broken ground disrupted its formation, the longbowmen fell back behind the men-at-arms, and the Scots were beaten in hand-to-hand fighting. The division led by March and Stewart broke and fled, and most of its men escaped. David's division fought on, but English men-at-arms attacked it, and the fighting was fierce. The surviving Scots tried to retreat and were routed, and the English chased them long into the night.
Aftermath
More than 50 Scottish barons were killed or captured. The dead included the Constable, David de la Hay, the Marischal, Robert Keith, the Chamberlain, John de Roxburgh, and the Chancellor, Thomas Charteris, as well as John Randolph, Earl of Moray, Maurice Murray, Earl of Strathearn, and Niall Bruce of Carrick. William Douglas and four earls were captured. Estimates of the Scottish dead vary, from about 1,000 given by the chroniclers Andrew of Wyntoun and Walter Bower, to about 3,000 estimated by modern historians. The English lost very few men.

David had been hit twice in the face by arrows as he fled, and one arrowhead stayed lodged in his face. By tradition, he hid under a bridge over the River Browney, but English searchers saw his reflection in the water. John de Coupland, a Northumberland squire rather than a great noble, captured him, and David reportedly knocked out two of Coupland's teeth in the struggle. Edward III rewarded Coupland richly. He was knighted as a banneret, given an annuity of £500, and rose to hold offices such as constable of Roxburgh, but he was killed in an ambush in 1363. David was treated at Bamburgh Castle, and he was held at Wark before he was taken to the Tower of London in January 1347. He was later kept at Windsor and Odiham Castle.
Edward III ordered the Scottish prisoners sent to London, and he refused ransoms, since he wanted to cripple Scotland's ability to make war. John de Graham was tried as a traitor, since he had earlier sworn fealty to Edward III, and on the king's orders, he was drawn, hanged, beheaded, and quartered. Robert Stewart, who had fled the field, became Guardian of Scotland in David's absence. Two English forces raided deep into Scotland in early 1347, and by 1349, the English border counties could defend themselves. The Black Rood, a holy relic, was taken from David and given to the shrine of St Cuthbert at Durham Cathedral.
Edward III offered to free David for £40,000 if the Scots accepted one of his sons as heir, and Scotland refused three times. In 1357, David was released after eleven years for a ransom of 100,000 marks, payable over ten years, in the Treaty of Berwick signed on October 3rd, which ended the war, although raiding along the border continued. The battle is named after the Anglo-Saxon cross on the ridge. Ralph Neville paid for a replacement cross, which was destroyed in 1589, and the site is listed by Historic England as a registered battlefield. Shakespeare alludes to David's fate in Henry V.